This shop has been compensated by Schwarzkopf. #FashionColorExpert #sponsored
It’s the season for a new look! All the Halloween décor and makeup is getting me inspired to break out some new beauty goodies. As much as I love dressing up, you can’t be in full costume all day every day, but there are lots of small Halloween themed get togethers that pop-up here and there. The best way to get spooky glam for a last minute Halloween event is a quick hair and makeup change. You guys know I’m a fan of wigs, and when I got the opportunity to partner with Schwarzkopf for a hair color challenge, I decided to makeover one of my go to summer wigs to make it appropriate for the new season.
Schwarzkopf Color Ultime hair color comes in several vibrant, fashion shades that provide long lasting, high shine color that lasts up to 9 weeks! The kit comes with everything you need and is super convenient.
If you've never worn a wig before they are perfect for experimenting with a new style or color, or just spicing up your look for the holidays or a special occasion. The one I'm wearing was my summer go to since I loved the light reddish blonde, but was hesitant to make such a dramatic change on my natural hair, especially since it would require bleach.
The first (and hardest!) step about wearing wigs is finding the one that fits your face best. If you're a newbie go to your local beauty supply store and try a few on to get an idea of textures and shapes that work for you.
Second, think about how much you want to spend on one! They can be as low as $20 and high as over $500 depending on whether its synthetic hair or human hair, length, texture, and the construction. The wig I chose is a mid-tier quality human hair wig. I think those are worth it since they have the most flexibility and can be styled and colored just like natural hair.
Third, after you've tried on a few and consulted some YouTube reviews you may be feeling more seasoned and can get into shopping for wigs online. You'll find the widest selection and lots of discounts. Just be careful because most are very difficult to return, if not final sale!
Wig care is easy, just gently shampoo and deep condition after a couple of wears, and store it either in the packaging or on a wig head.
Check out my step by step tutorial to go from strawberry blonde to Amethyst Black!
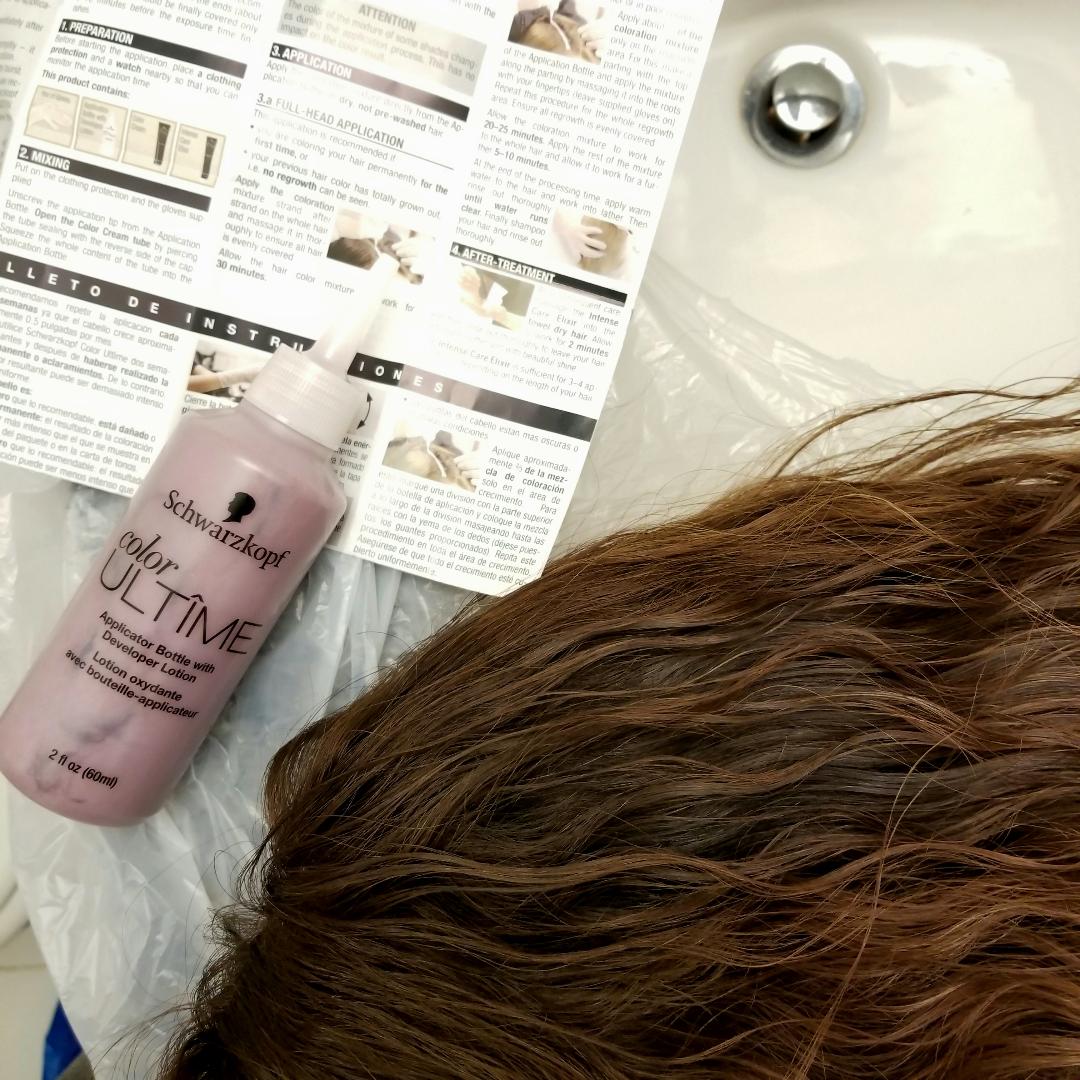
First, I prepped my surfaces by lining the sink and floor with plastic, then detangled the wig and coated the lace with Vaseline just to avoid staining it in case the color seeped through.
Then, per the instructions, squeeze out the color cream into the plastic bottle of developer and shake it up until everything is evenly mixed. As I read the instruction leaflet in the box I realized they recommend 2 boxes of color for hair that is longer than chin length. The wig I was dyeing was about bra strap length and pretty thick and wavy in texture so I was worried I wouldn’t have enough. But I didn’t have time to get another box so I just went ahead and started the application, focusing on the front and upper layer of hair just in case I ran out. I figured it would have the effect of low-lights, instead of only having one half of the hair done! I ended up having enough to go back and do a proper coat, so it worked out just fine. But keep that in mind if you do have very long/thick hair because it wasn’t written anywhere on the outside of the packaging or on the product page on Walmart.com.
After that you let it process for 30 minutes, rinse, then shampoo it out! Fair warning it took about a dozen rounds of shampoo, rinse, repeat before the color was all out and the water was running almost clear. Finish the process by applying the Intensive Care Elixir, leaving it on for a few minutes, and then rinsing out.
And here is the final look!
The color came out beautifully and the purple is popping! And as you can see, it looks just like the color on the box!


